
backcountry essentials
Side country. Slack Country. Backcountry. Whatever you call it, we’ll help you gear up!
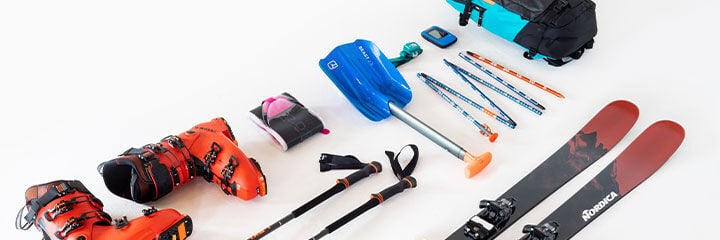
Backcountry Essentials
Side country. Slack country. Backcountry. Whatever you call it, we’ll help you gear up!
Know before you go
- “Safety first” will always be our top priority, especially when venturing into the backcountry. Having the right gear is a great start, but getting the proper training is imperative. Before you consider heading out into the backcountry, we recommend taking an AIARE (American Institute of Avalanche Research and Education) course, or one of the many other safety courses throughout the U.S.
- We cannot emphasize enough the importance of using local avalanche information centers to plan routes and see the current avalanche danger. These sites will help keep you safe and inform you on where to go, and more importantly, where not to go.
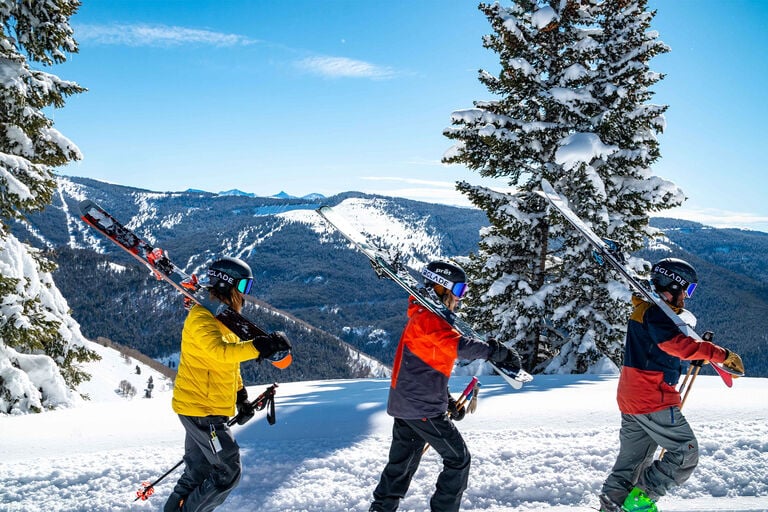
.jpg?sw=768&sfrm=jpg&q=80)
Backcountry Safety Gear
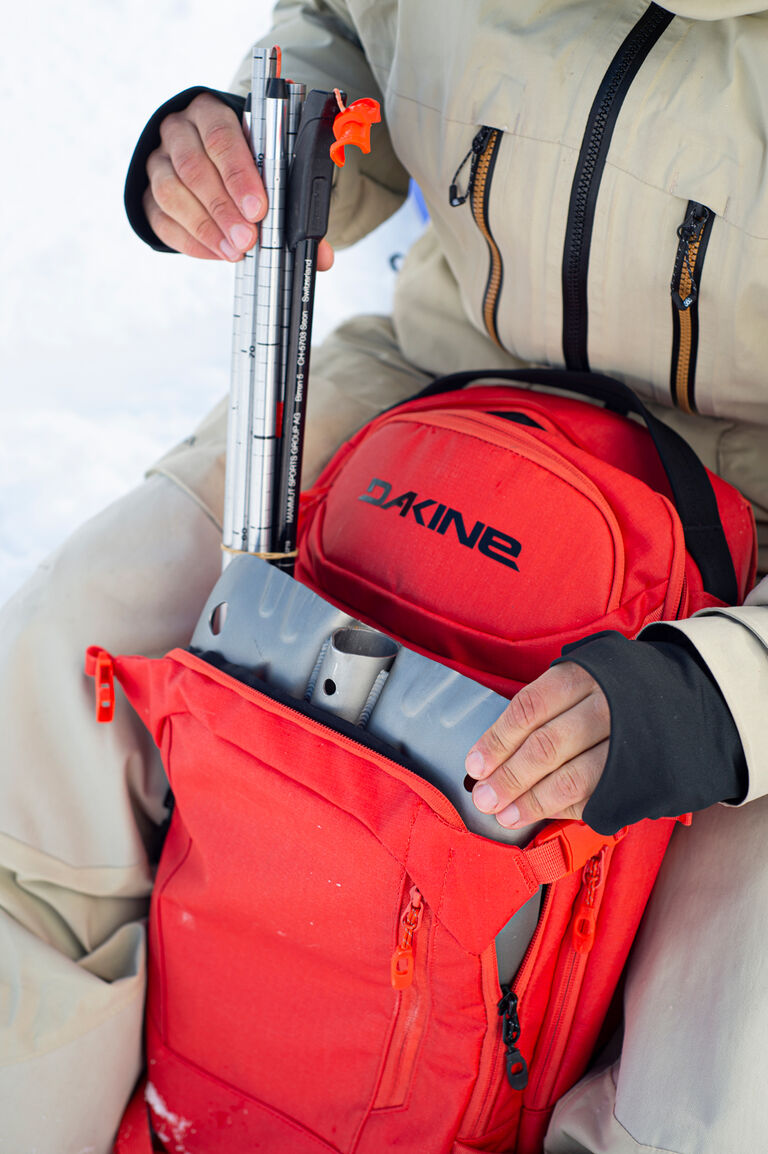
Our top 3 essentials for backcountry safety. Have them. Know them. Use them.Beacon:
A beacon is a device that aids in finding a person buried in an avalanche by acting as both a transmitter and a receiver. If you’re traveling in the backcountry, you and everyone in your group must have a functioning beacon to be able to assist in a rescue and to be able to be located in the event of a burial.Good to know: All beacons are compatible, but not all perform the same. Get to know your beacon by doing training drills with a buddy. Your beacon battery should never be below 50% when entering the backcountry.
Probe:
A collapsible pole used to probe the snowpack to accurately find where to dig for a burial victim once they have been located via beacon. Make sure you practice deploying your probe quickly.Good to know: Using a longer probe that’s at least 280-330in length will allow you to probe without having to bend over as far so you can locate a buried person faster.
Shovel:
A shovel is used to dig to free the victim in the event of an avalanche burial. A sturdy, collapsible aluminum shovel will help you to free a buried backcountry traveler as quickly as possible. It can also be used as a tool to help inspect and test the snowpack.The Gear
Now for the fun part: picking the perfect backcountry ski or snowboard setup! Everyone skis or rides differently and values different characteristics in their gear. Identify what’s important to you in order to select the perfect setup.
Backcountry Skis:
Almost any ski can be used as a backcountry ski. However, most people looking for a dedicated backcountry setup will choose a ski that is lighter in weight and designed specifically for the backcountry. Pick a ski that fits your backcountry skiing goals and local terrain.- Very narrow backcountry skis under 80mm underfoot are designed specifically for ultralight ski mountaineering or skimo racing. These types of skis are extremely lightweight and are geared towards uphill speed and performance rather than downhill skiing performance.
- Skis in the 84-100mm underfoot range will work better for firmer snow conditions and will be more lightweight than wider touring skis.
- Skis wider than 100mm underfoot will be better for softer, deeper snow. Though there are many wide skis that are also lightweight, they will be heavier than comparable skis that are narrower due to their size.
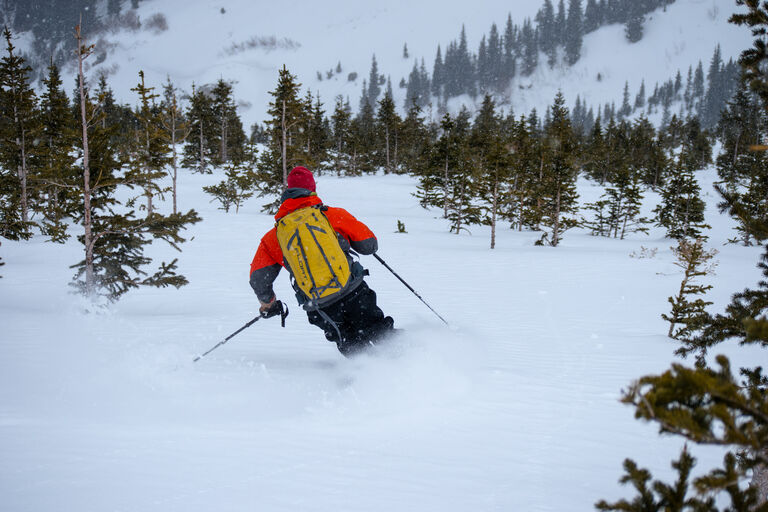
Backcountry Ski Bindings:
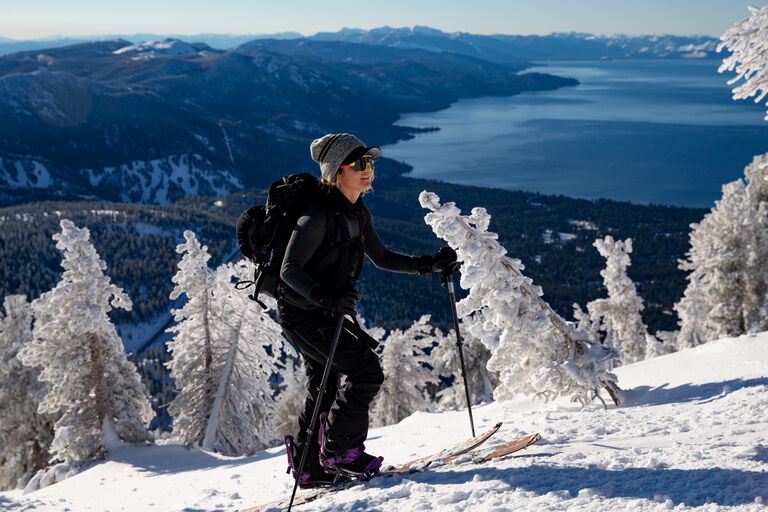
Bindings with touring capability are necessary for ascending uphill on skis. Touring bindings allow the heel to release and move freely while the skier moves uphill. Think cross-country skis—with the help of climbing skins (more on that below) and touring boots, a touring binding allows the skier to efficiently move across flat surfaces and uphill.When it comes time to go downhill, touring bindings allow the heel to be locked down so that they function much like a traditional alpine binding.
There are two main categories of backcountry bindings.
- Tech bindings/pin bindings: This type of binding is very lightweight and designed to be used exclusively for backcountry skiing. Because of their focus on weight and ease of use for transitions between uphill and downhill, they sacrifice some of the performance and safety features of a traditional downhill binding.
- 50/50 or hybrid-style bindings: This type of binding offers a compromise between weight and ease of use for touring and downhill skiing performance. In the downhill setting, hybrid bindings offer the same performance and safety features of a traditional downhill binding. They can be used to ascend uphill much in the same way as tech bindings, albeit with significantly more weight and more complicated transitions. This style of binding is becoming very popular as it allows users to have one ski for both inbound and backcountry skiing.
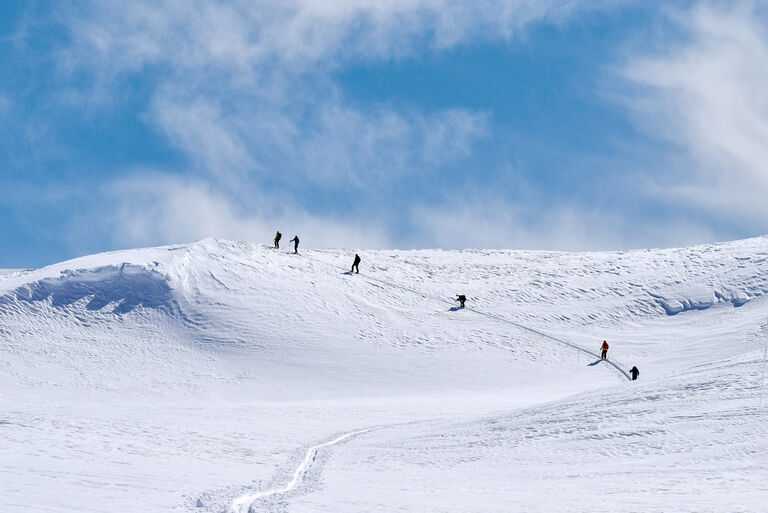
Climbing Skins:
Climbing skins are essential to ascend uphill in the backcountry. Usually made of mohair, nylon, or a blend of the two, skins attach to the bottom of skis using clips and adhesive. They create a grip with the snow, allowing the user to slide their skis uphill without sliding backwards. Skins come in generic widths and lengths that can be trimmed to fit any ski, though some modern backcountry-specific skis and splitboards come with skins that are precut and fitted to the specific size and model in question. Skin cutting is a service offered at most Christy Sports stores.Backcountry Ski Boots
Backcountry ski boots differ from normal downhill boots in two main ways. They have tech inserts in the toe and heel that allow the boot to work with touring bindings. They also have a walk mode that allows for the boot cuff to articulate for more range of motion and comfort while ascending. There are many kinds of backcountry boots. Hybrid-style boots that have all the downhill performance (and weight) of a traditional boot with the addition of tech inserts and a walk mode; they are a great choice for a skier who spends a lot of time inbounds and wants a single boot to also use in the backcountry. Ultralight ski mountaineering boots allow for a huge range of motion and comfort during fast uphill ascents, but do not perform nearly as well going downhill. Many other touring boots strike a good balance between these two polar examples, allowing for both good uphill and downhill performance.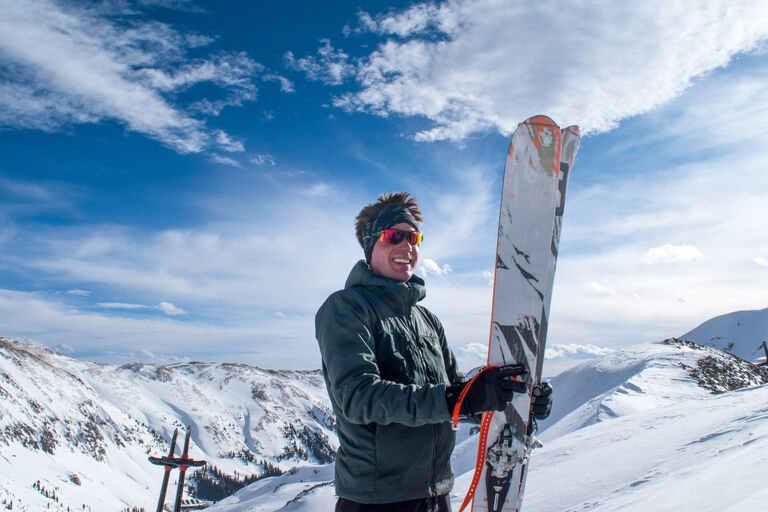
Splitboards:
Splitboards are snowboards designed for use in the backcountry. They split into two pieces and are used like skis for the ascent, and then are joined together using special hardware to be used as a normal snowboard going downhill. .
Snowboard Boots:
If you are an aspiring backcountry snowboarder, you’re in luck! Any normal snowboard boot is compatible with backcountry splitboard bindings. However, if your boots are nearing the end of their life, visit your local Christy Sports to find a perfect fitting snowboard boot protected by our boot fit guarantee.
Backcountry Snowboard Bindings:
Backcountry-specific snowboard bindings work with the splitboard to allow both uphill and downhill travel. In climbing mode, they attach facing forward on the splitboard “skis” and pivot from the toe, allowing the rider to stride uphill. Once the splitboard is reconnected in downhill mode, the bindings reattach in a typical snowboarding stance, allowing the rider to go downhill in the same way they would on a normal snowboard.
Preparing for a Backcountry Adventure:
Understand your route and have a printed map or reliable online mapping tool for the area. If you are using an app-based mapping tool, remember to make sure your phone is fully charged. Make sure you and your group feel safe and qualified for the terrain you are entering. Always tell somebody who is not traveling with you about your backcountry plans and when you’re expected to return.Preparation:
- Having the right gear is a great start, but knowing how to be safe and avoid dangerous conditions is the most important factor when it comes to backcountry skiing. We suggest taking an AIARE (American Institute of Avalanche Research and Education) course, or one of the many other safety courses throughout the U.S.
Packing:
- Make sure your shovel and probe are easily accessible in your backpack. Hopefully you won’t have to use them, but should you need them, you don’t want to have to dig around in your pack. Your beacon should be securely attached to your body and at least 13 inches from other electronic devices like a cell phone to avoid signal disruptions.
- Pack your goggles where they will stay dry and protected. If you wear them while traveling uphill, your sweat can fog them up and make your downhill experience a frustrating one.
- SNACKS and WATER. Skiing in the backcountry is hard physical work; it is important to stay hydrated and fueled.
- Extra layers like gloves, hat, puffy jacket, and space to store them as you could get hot and need to shed a layer.
- Bring a headlamp in case of emergencies.
- Extra batteries for your headlamp and avalanche beacon.
Other items that are helpful:
- Compass – Lightweight insurance in case of bad visibility or a dead phone.
- GPS tracking device.
- Thermos with warm drinks or soup.
- Sunglasses & sunscreen.
- Tool kit – multi-tool / binding screws / steel wool / lighter / voile straps.
- Plastic ski scraper – simple tool for ski / skin maintenance that wont damage your skis.
- Bandana or balaclava for neck/face protection.
- Camera / cell phone.
- Hat / ball cap – running hats that can be folded up and packed away are great.


